Choose a situation and follow positioning changes step by step. Original portraits, creature images and spell icons connect the board to actual profiles and rules.
Protect the caster, not only the front line
Adelaide represents a vulnerable support hero. Positioning determines whether she survives to take the next needed action.
The hero is ahead of the screen. With sufficient movement the opponent can attack her directly; a strong stack behind does not fix that. Inspect enemy reach first.
Bring the hero behind the line and put the screen on the approach. The gold arrow indicates repositioning, not a free action: the move must fit actual action order and movement.
If the screen survives and the approach stays closed, the hero can choose available support or another safe move. Shooters still need a clear line; being behind troops does not protect against every spell.
Apply this in the game
A screen matters only when it closes a reachable approach. Separately check shooters, flyers, spells and whether the screen itself survives.
Open the shooter’s line of fire
Line of sight matters in Heroes IV. Your own screening stack can stand directly in the intended firing line.
The red line crosses a friendly stack. Before planning focused fire check whether the game allows this target and whether a unit or terrain obstacle lies between shooter and target.
Move the screen off the line if this does not open a more dangerous approach. It moves on its own action and must actually act before the intended shot.
Clear sight permits considering a shot, not assuming zero losses. An eligible enemy shooter can return fire simultaneously; check retaliation and both stacks’ ability exceptions before committing.
Apply this in the game
Check sight, shooting penalties and ranged retaliation separately. Solving one does not automatically solve the others.
Both sides can hit simultaneously
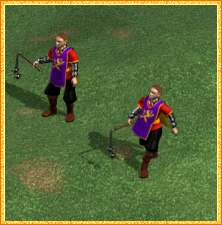
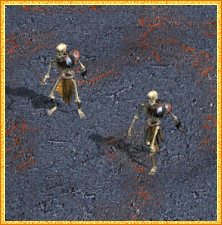
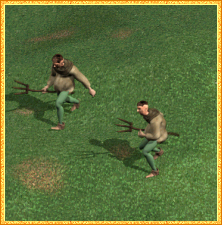
An illustrative Peasant–Skeleton contact explains resolution order. It is not a recommendation to commit weak peasants to a losing trade.
Before contact establish whether the target can respond and whether the attack has an exception. The attacker’s damage estimate alone does not describe the cost of the exchange.
When retaliation is available both directions resolve simultaneously. Do not estimate the defender’s response only from survivors after your hit using Heroes III habits.
Compare expected losses with another target, support or postponing contact. The images subtract no invented casualties: exact damage needs actual counts, attributes, abilities and battle state.
Apply this in the game
Killing with the attack does not establish zero return damage. Retaliation availability, special abilities and simultaneous resolution matter.
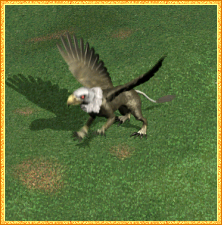
A flyer can bypass the front screen
A front line protects differently against walkers and flyers. This example uses an opposing Griffin and the support hero Adelaide.
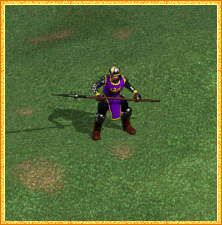
The Squire stands ahead of the hero but the Griffin is not an ordinary walker. Inspect reachable positions behind the line rather than only the direct route through the screen.
Move the reserve toward the threatened side if it can act in time. The change must constrain real landing or attack options; another nearby unit does not itself forbid attacks.
After moving, return to the hero: will she survive the next attack and take the needed action? If not, change the casting plan, add protection or avoid the engagement.
Apply this in the game
Against a flyer check landing space, actual reach and the following action too. A single friendly stack does not create universal safety.
Two heroes, two distinct jobs
Araja supports troops through Tactics and Defense; Adelaide starts with Life Magic and Healing. Both are targetable combat participants.
A Knight is not automatically an invulnerable tank and a Priest does not know any spell by class name alone. Inspect personal Combat, the actual spellbook, mana and each hero’s skills.
The screen holds the approach, the shooter needs sight and each hero needs the relevant action. Two casters in the same exposed position can be lost to one shared mistake.
Assess what the second hero actually added before decisive contact. Another stack and concentrated experience are alternatives; the same pair need not remain best in the next battle.
Apply this in the game
A second hero occupies one of seven army slots and shares experience. Distinct complementary roles matter more than simply having another portrait.
Spacing against an area attack
Protecting a caster and shooters can create a tightly packed target. Balance screening against the risk of one effect hitting several key units.
Hero, shooter and screen are close. An opponent with an applicable area effect can hit several roles in one action. Aislinn represents the opponent, not a claim that she starts with a particular spell.
Move the shooter to a different firing axis and the hero out of the shared area. Still check contact threats at the new positions and whether the shooter has usable sight.
A spread army may screen approaches less effectively. After each action compare area damage with attacks on an isolated hero; the initial formation is not a commitment for the entire fight.
Apply this in the game
Spreading helps only while preserving targets and protection. Check the actual spell preview for its area; the diagram’s circle identifies concentrated risk.
A summoned Wolf is not permanent recruitment
Elwin represents a developed caster with Summon Wolf available and sufficient mana. The spell icon marks the considered action without claiming every starting profile knows it.
The Skeleton threatens an approach to the hero. Compare summoning with a safe move or another available action. A not-yet-summoned stack on this first image protects nobody.
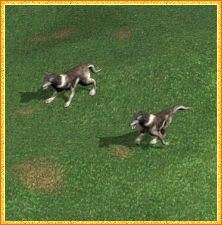
The marked Wolf represents a temporary summon. Verify its actual placement and action order in game; casting alone guarantees neither a closed approach nor an immediate attack. The original icon above opens the spell’s exact rules.
This third image separates the post-battle phase without predicting victory or casualties. The temporary Wolf does not carry into the next fight. For permanent daily additions open the Summoning skill rather than this spell.
Apply this in the game
The spell spends an action and mana without permanently replenishing the adventure army. Count uses the spell’s experience budget; daily Summoning is a different ability.
Spells and skills in this situation
A green line marks a spell effect rather than movement. Its icon denotes the considered action rather than another unit. Marked summons and illusions use that creature’s original image.
Emilia represents a caster who knows Create Illusion. The copied subject is an eligible creature rather than a hero; the opposing caster has Dispel available in this example.
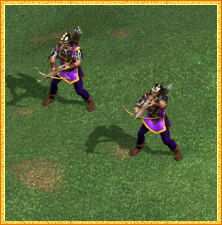
The real Crossbowman stack is the template. Create Illusion uses an HP budget rather than a fixed count independent of creature health. The hero Emilia is not a valid template.
The second image separates the original from the marked illusion. Its count and injuries depend on the HP budget and actual conditions. An illusion has no mana, so do not assume another full spell resource.
Dispel destroys an applicable illusion without automatically removing the original stack. The arrow points to the removed copy’s position. Before investing another action compare this response with direct attacks or other support.
Apply this in the game
Distinguish the original stack from its temporary copy. Value also depends on whether an opponent can remove the copy with a cheaper action; recasting the same type need not create another independent stack.
Spells and skills in this situation
A green line marks a spell effect rather than movement. Its icon denotes the considered action rather than another unit. Marked summons and illusions use that creature’s original image.
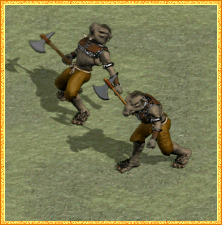
The icon marks Blind cast on the Orc if actual eligibility and resistance allow it. The effect lasts up to three rounds and damage ends it. Undead, Elementals and constructs are excluded by this spell’s rules.
The shooter considers the Skeleton while leaving the blinded Orc undamaged. Check sight and actual action order here too. The gold arrow shows a target choice without guaranteeing a hit or casualties.
If you redirect a damaging hit to the Orc, Blind ends. Plan subsequent actions against an active opponent again. In melee separately check the awakened target’s response and any attacker exceptions.
Apply this in the game
Control matters when you use the time it gains. Damage ends Blind and it does not generally provide permanent retaliation prevention; a melee hit does not automatically receive no response.
Spells and skills in this situation
A green line marks a spell effect rather than movement. Its icon denotes the considered action rather than another unit. Marked summons and illusions use that creature’s original image.
Adelaide represents a caster with Heal available. The Crossbowman is an eligible living wounded target; the diagrams deliberately invent neither counts nor specific casualties.
Check remaining HP and the next incoming threat. Missing stack members alone do not determine Heal’s value. This ordinary healing does not apply to Undead, Elementals or constructs.
The spell restores health according to its budget and applicable bonuses. Higher Spirituality does not automatically revive dead members. After casting you must still protect the hero and watch enemy approaches.
Healing does not rewrite the count of creatures already killed. The Resurrection skill applies after battle to eligible losses and has its own percentages. Compare actual HP saved with the cost of one hero action.
Apply this in the game
Healing, post-battle recovery and temporary in-battle raising have different conditions. Heal also removes Poison and Plague, but one cast does not restore all creatures already lost.
Spells and skills in this situation
A green line marks a spell effect rather than movement. Its icon denotes the considered action rather than another unit. Marked summons and illusions use that creature’s original image.